I am definitely not quite there as an artist, you will see I don’t even make the background look great. This is just to point out, and share, how simple it can be to make your own intro video.
I do the simplest form that I know completely, and in Step 4 just share more you can delve into for your intro video you create.
To get this going there are a few simple steps you need to do. For this, I struggled to think of what I actually wanted to do since I have never made an intro before. It is roughly what I don’t completely want for my channel personally? Though take note, if people actually want it, please let me know. I can make it, and potentially use it if it is what people want.
Similarly, I am not a good digital artist. Games I made in the past only look good as I got art from artists that can do digital art for me. The images I use here are mostly for a simple example. I’m not good at digital art, to be honest…
… I would like to find if someone here can maybe assist me with making an intro video for my gaming page or who knows someone who would be able to help me? …
AnnabellE, Geek Legion
This is technically just to show off how to use Shotcut to edit, how you can work with timing for yourself, and any other ideas you have for sounds and so on. This assumes you record the videos you want to use or have the images you want. In the steps, I only share simple ways to show off the start of using these ideas. If you want more 3D animation, take a look at Blender and let me know if we need that in our project.
Also, take note, I only use images here. This is the simplest way to give ideas about the features. When we want to use videos we can easily. It is nearly exactly the same, it would just be using the same video filter instead of a sound filter in certain cases.
Step 1: Prepare Resources
This can be quite simple, to be honest. Using paint.net you can create images at the resolution you are currently using. First, I created a simple black an white background:

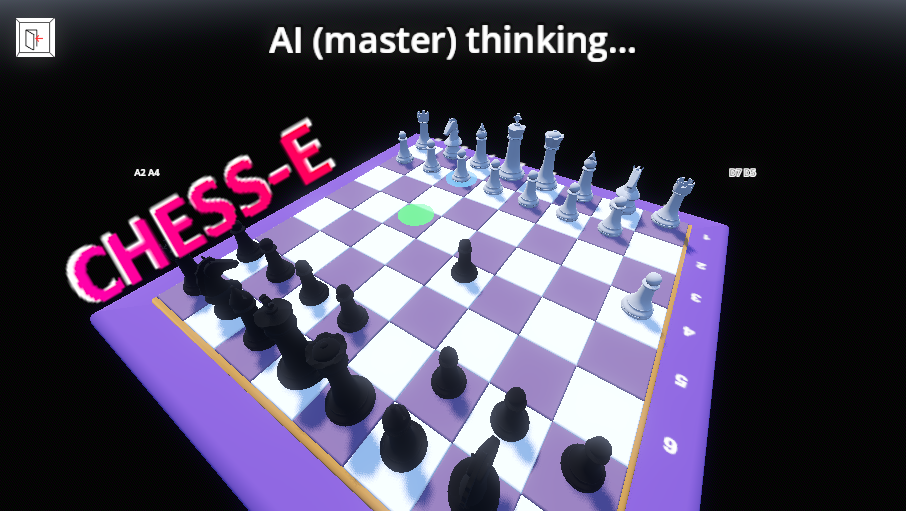
The second step is creating the image for your name and/or logo. This can be done in several ways, I just chose to stick to paint.net using the full resolution. Here is the final image in paint.net for you:

We then cut it into two segments for ourselves. This is quite simple. Using lasso select we can make the cutting line we want, cut it with ctrl+X, then paste it onto its own layer. Using layer hiding we can save it separately as our “name left” and “name right”.

Just remember ctrl+Z! Saving the image with layers as .png to use in shotcut we, unfortunately, lose layers. So yeah, we use save as to get the png and ctrl+Z to get the layers back to show which one shows.
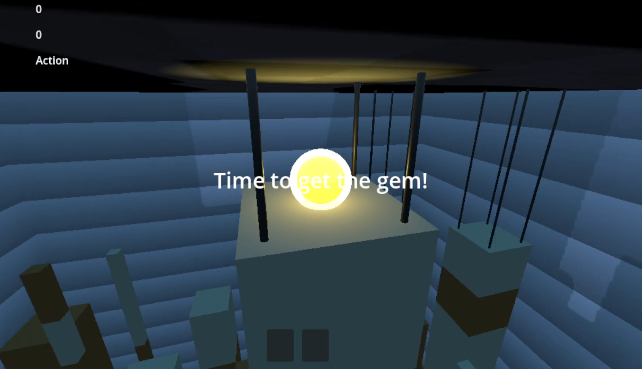
The other image we need for this is to show our world a bit. This is the personal choice, I could potentially do little video clips perhaps, it just happens to be what I felt like doing. An image. I can always change it in the future. So, I found the angle I wanted in my world, then cut out what I wanted to use as the image.

As you can see, I just went with the easiest options for this intro. Please note, this is the minimal version with a fixed image. You will see below I share where to look for other effects and ideas.
Step 2: Shotcut Time
We will begin with 4 video layers in our new Shotcut project. The lower one we will put our background in, the top 2 will be used for the name, and the second-lowest one will be used for my world image.

We will leave it on the default time lengths for the start of this. Selecting name left first, zoom in an move it +00:00:15 to the right. Move name right to where name left is, then move it +00:00:15 to the right on the timeline from there as well.

The, below where name right is you can put your world img, as I did, then obviously move it +00:00:15 to the right. Using Alt+Left and Alt+Right you can move to the right-hand side of the top layer’s image, mine was name left. Right-click on each of the layers images below and Split at Playhead.

Then, obviously, all the splits to the right we can remove. Just so you can see how that is, have a tiny gif:

So, for this, we obviously aren’t done yet for the videos. I recorded an audio clip making the sound of an explosion using the default Voice Recorder in Windows 10. Using Audacity I then cut what I don’t want in it out, you would need to convert it to a wav as well, by the way, then I adjust the effects in it.

Now, this pitch change isn’t perfect, it definitely needs work. It is only to make sure it isn’t just a sound that is exactly like my voice. Add 2 audio tracks, add in the sound snippets to the start of the videos, then on the second track you can add some background music.

Using filters for audio in and out on Mall we have ~0:12 in and ~2:00 out. This can be quite simple, yet you can also do visual effects, see Step 4 below for more on that.
Note, my images were at 1920×1080 since that is the resolution I use. My recording in OBS also outputs at 1080p. You would, no doubt, just adjust the ideas this would be sharing for yourself.
Similarly, as another note, you should rather have the playlist showing in Shotcut and then drag items you want to add to the video onto the playlist. This will keep it in the project for you so you can save away and not lose access to resources you want to use.
Step 3: Finalise It and Use It
So, select Export, click Advanced, select your preferred output, then lastly double check Codec is 100% quality. I use H.264 High Profile as my format.

Select Export File and name your intro snippet for yourself, mine is intro.mp4. Remember to save introsnip.mlt if you want to ever make this change over time, that will make it easier for you.

So, you can record your video and do the effect in it for yourself, then when rendering it you can just add your intro.
On my personal side, this intro looks darn ugly. I am not great at making it. This is just so you can see it is easy to do for yourself. People may find it slightly weird, I only used images for this one? Remember, that was images I fiddled with easily on a video track. I can easily make it video snippets, and so on.
Similarly, just so you know, under filters there is Size and Position for you to move the image or video around. You can also dabble into HTML and JavaScript effects for movement, I just didn’t want to take this too far.
Step 4: See More
This doesn’t stop here, I just first went through making something that works in the easiest way. You can no doubt do Steps 1 through 3 way better than I can. It is literally just to show off it is easy enough, even for people like me!
There are tons more things you can do with these options already. I used Shotcut for the editing and OBS for recording. I can pretty much make tons more for my intros already. Consider the background being pitch black? I would prefer that over the background image I made, it is only here to show you that there is quite a simple way to add anything for yourself.
That being said, the other things you can delve into are:
- You can censor videos, as in hiding something amazing you find later in the video and share “wow” in the short clip you use for the intro.
- There are tons more effects you can use in Shotcut.
- You can do animation through HTML and JavaScript.
As you can tell, this is just the easiest way to share we can make the clip. Take note, I don’t do intros. I do minimal video editing, mostly to put things together into one episode.
Final Words
Hopefully, this can get people in through this simplified intro tutorial. You will note it can be easier, however, this is reliant on you recording things in your game(s) to use for the images, or video clips, in your intro.
I did Blender a bit, years ago, I would just have to spend time on relearning that if you want to do the 3D animation.
This is the simple intro to how to do things, hopefully, it will make it easier for people. This is the smallest version here, not to intimidate you, no. If you can do this with just the image example you will see you can also do videos easily in this.
If anyone has more questions, and/or ideas, please just give me a shout. I’m definitely not good at the art side… It took me a few weeks for me to make my thumbnail on my YouTube videos actually look good…